EV0 Mechanics

<..back to The Mass-EV Machine Shop
<..back to Research and Development Program


EV0a (a.k.a The inspiration)

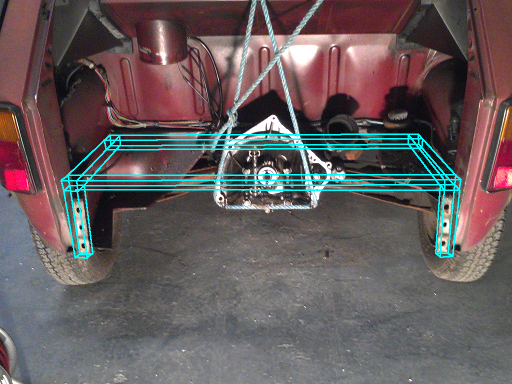
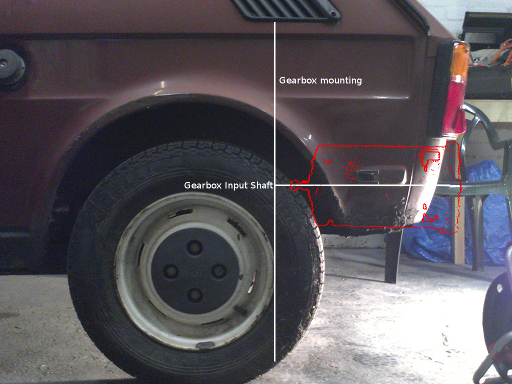
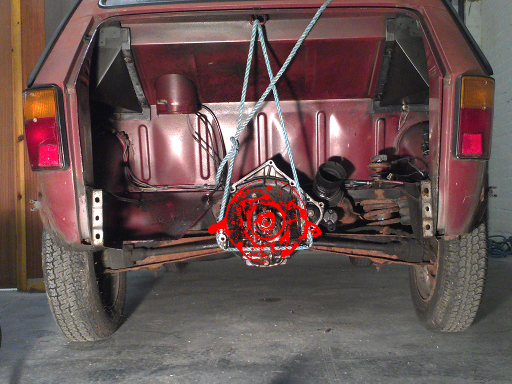
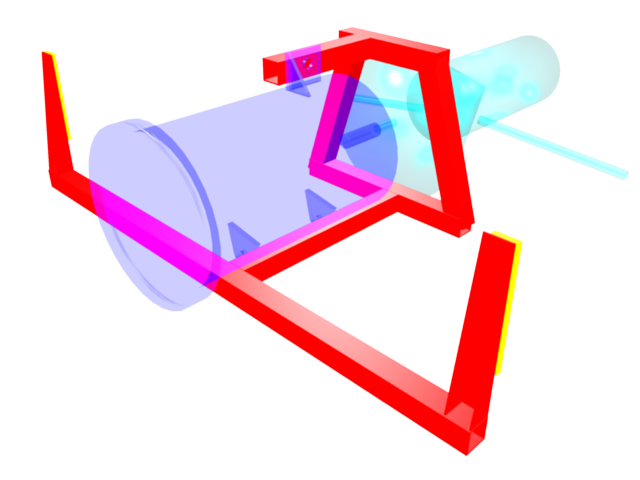
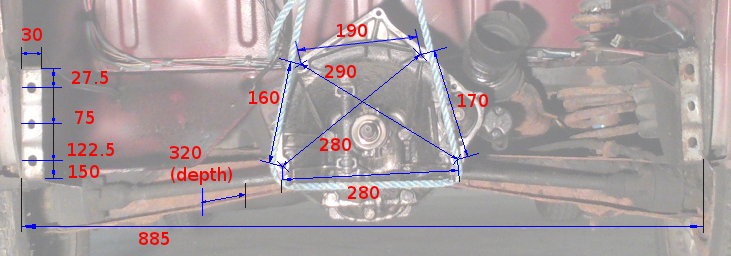
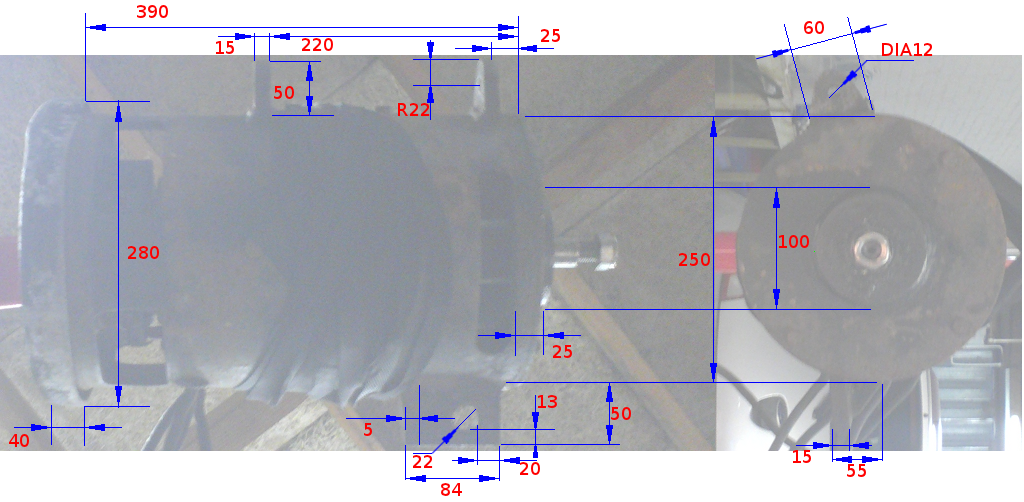
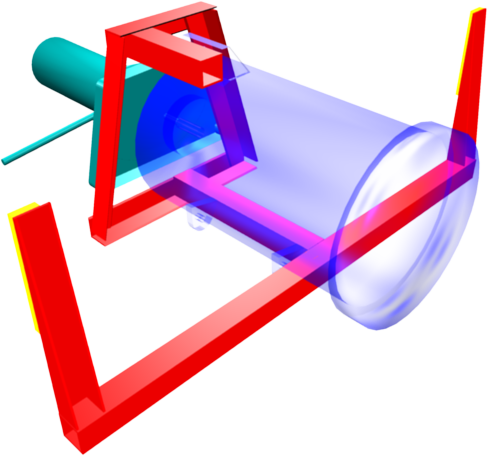
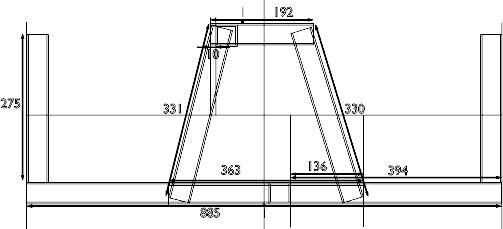
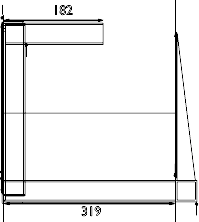
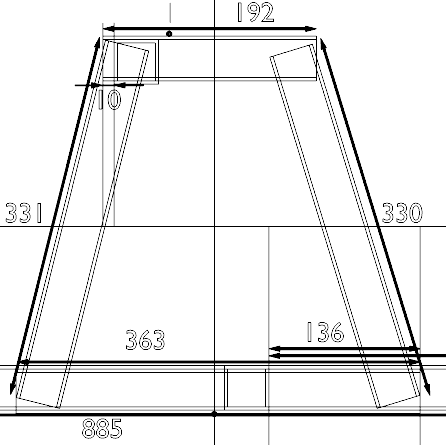
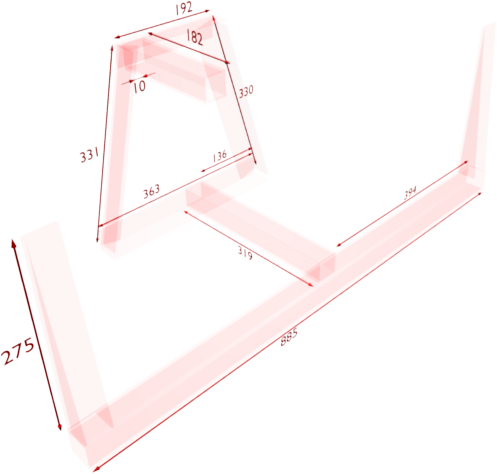
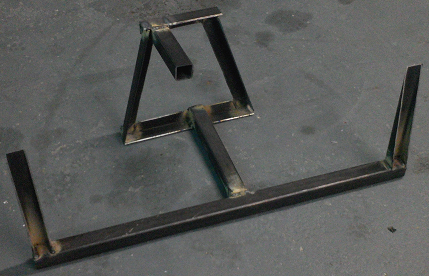
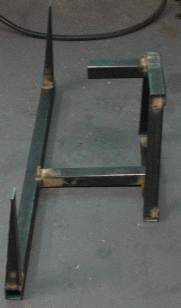
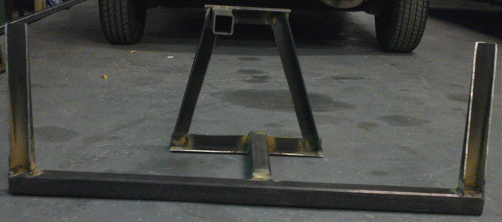
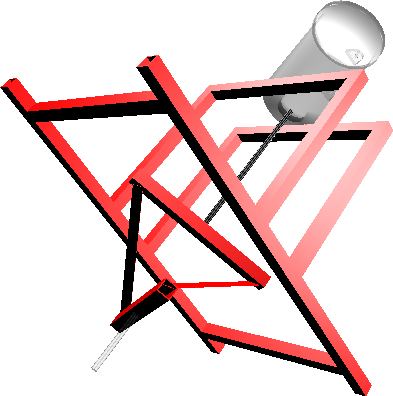
In order to add the milk float motor to the Fiat 126 we need to construct a frame
which can hold the motor and the gearbox to which it will be attached.


Rough sketch of the frame for mounting the motor.


Views of the car with the motor outline superimposed.
I took the images at a measured 2 metres range to give a rough fit for size.

Original Blender CAD
Draft of the frame to mount.

Bit more complex than I hoped, but there we go.


Almost finished perspective.

    
Full frame.


And just the gearbox mount section.


Dimensions in persective.

Need to cut some box and then cut into angle:
4 sections are 363 + 192 + 330 + 331
330 + 331 = 661 and 363 + 192 = 555 so a section 661 long would do.


Finished frame, just need to drill out.

EV0b (a.k.a EV0 Upgrade)

The EV0b (upgraded) version (Daihatsui HiJet) started with gusto this year.
More will be added as the media is prepared.

Conversion design:

Assessing the conversion


Assessing the motor connection options


Starting the component removal


Daihatsui Hijet Petrol Tank Backflow Valve Problems


Load floor removal #1


Preparing the back axle


Load Floor removal #2


Assessing axle rotation


Real axle removed


Preparing rear axle for refitting


Rear axle refitted


Rear axle preparation for testing


Rear axle ready for motor


Assessing motor mount and coupling


Assessing motor mount and coupling #2


Final stages of construction:

Frame mount to milk float motor


Milk float motor mount completed


Milk float motor mounted, preparing link to propshaft


Constructing the motor coupling


Constructing the coupling #2


Axle coupling


First run on a road


First run on a road #2


Motor coupling


Second road test with new mount:

Daihatsu engine removal #1


Daihatsu engine removal #2


Assessing the new motor mount


Removing the first motor mount


Inspection of the first coupling


The first mount and coupling


Preparing the van chassis for the new motor mount


Constructing the new motor mount


New motor mount in place


New mount first test


Second road test assessment


Third test with full electrics

Preparing for full electrics


Third road test


Imagery edited in Gimp, CAD created in Blender, Video edited in Avidemux